Get started
Editor on your Mac
Download the Editor, open a prototype, and change a real component in a few minutes.
The Editor is a Mac app. You open it, point it at a prototype, click something on screen, and change it. The change lands straight in the app's own source files, the same files an engineer would open.
Download and open it#
Desde is in beta, and the Editor is a Mac app.
Every version, with its notes, is on the releases page. The app is signed and notarized, so it opens without a security warning. This is the only time you download it by hand: after that it keeps itself up to date.
Note Apple Silicon only. There is no Intel build, and no Windows or Linux build.
Open the app. On first launch it offers three ways to start.
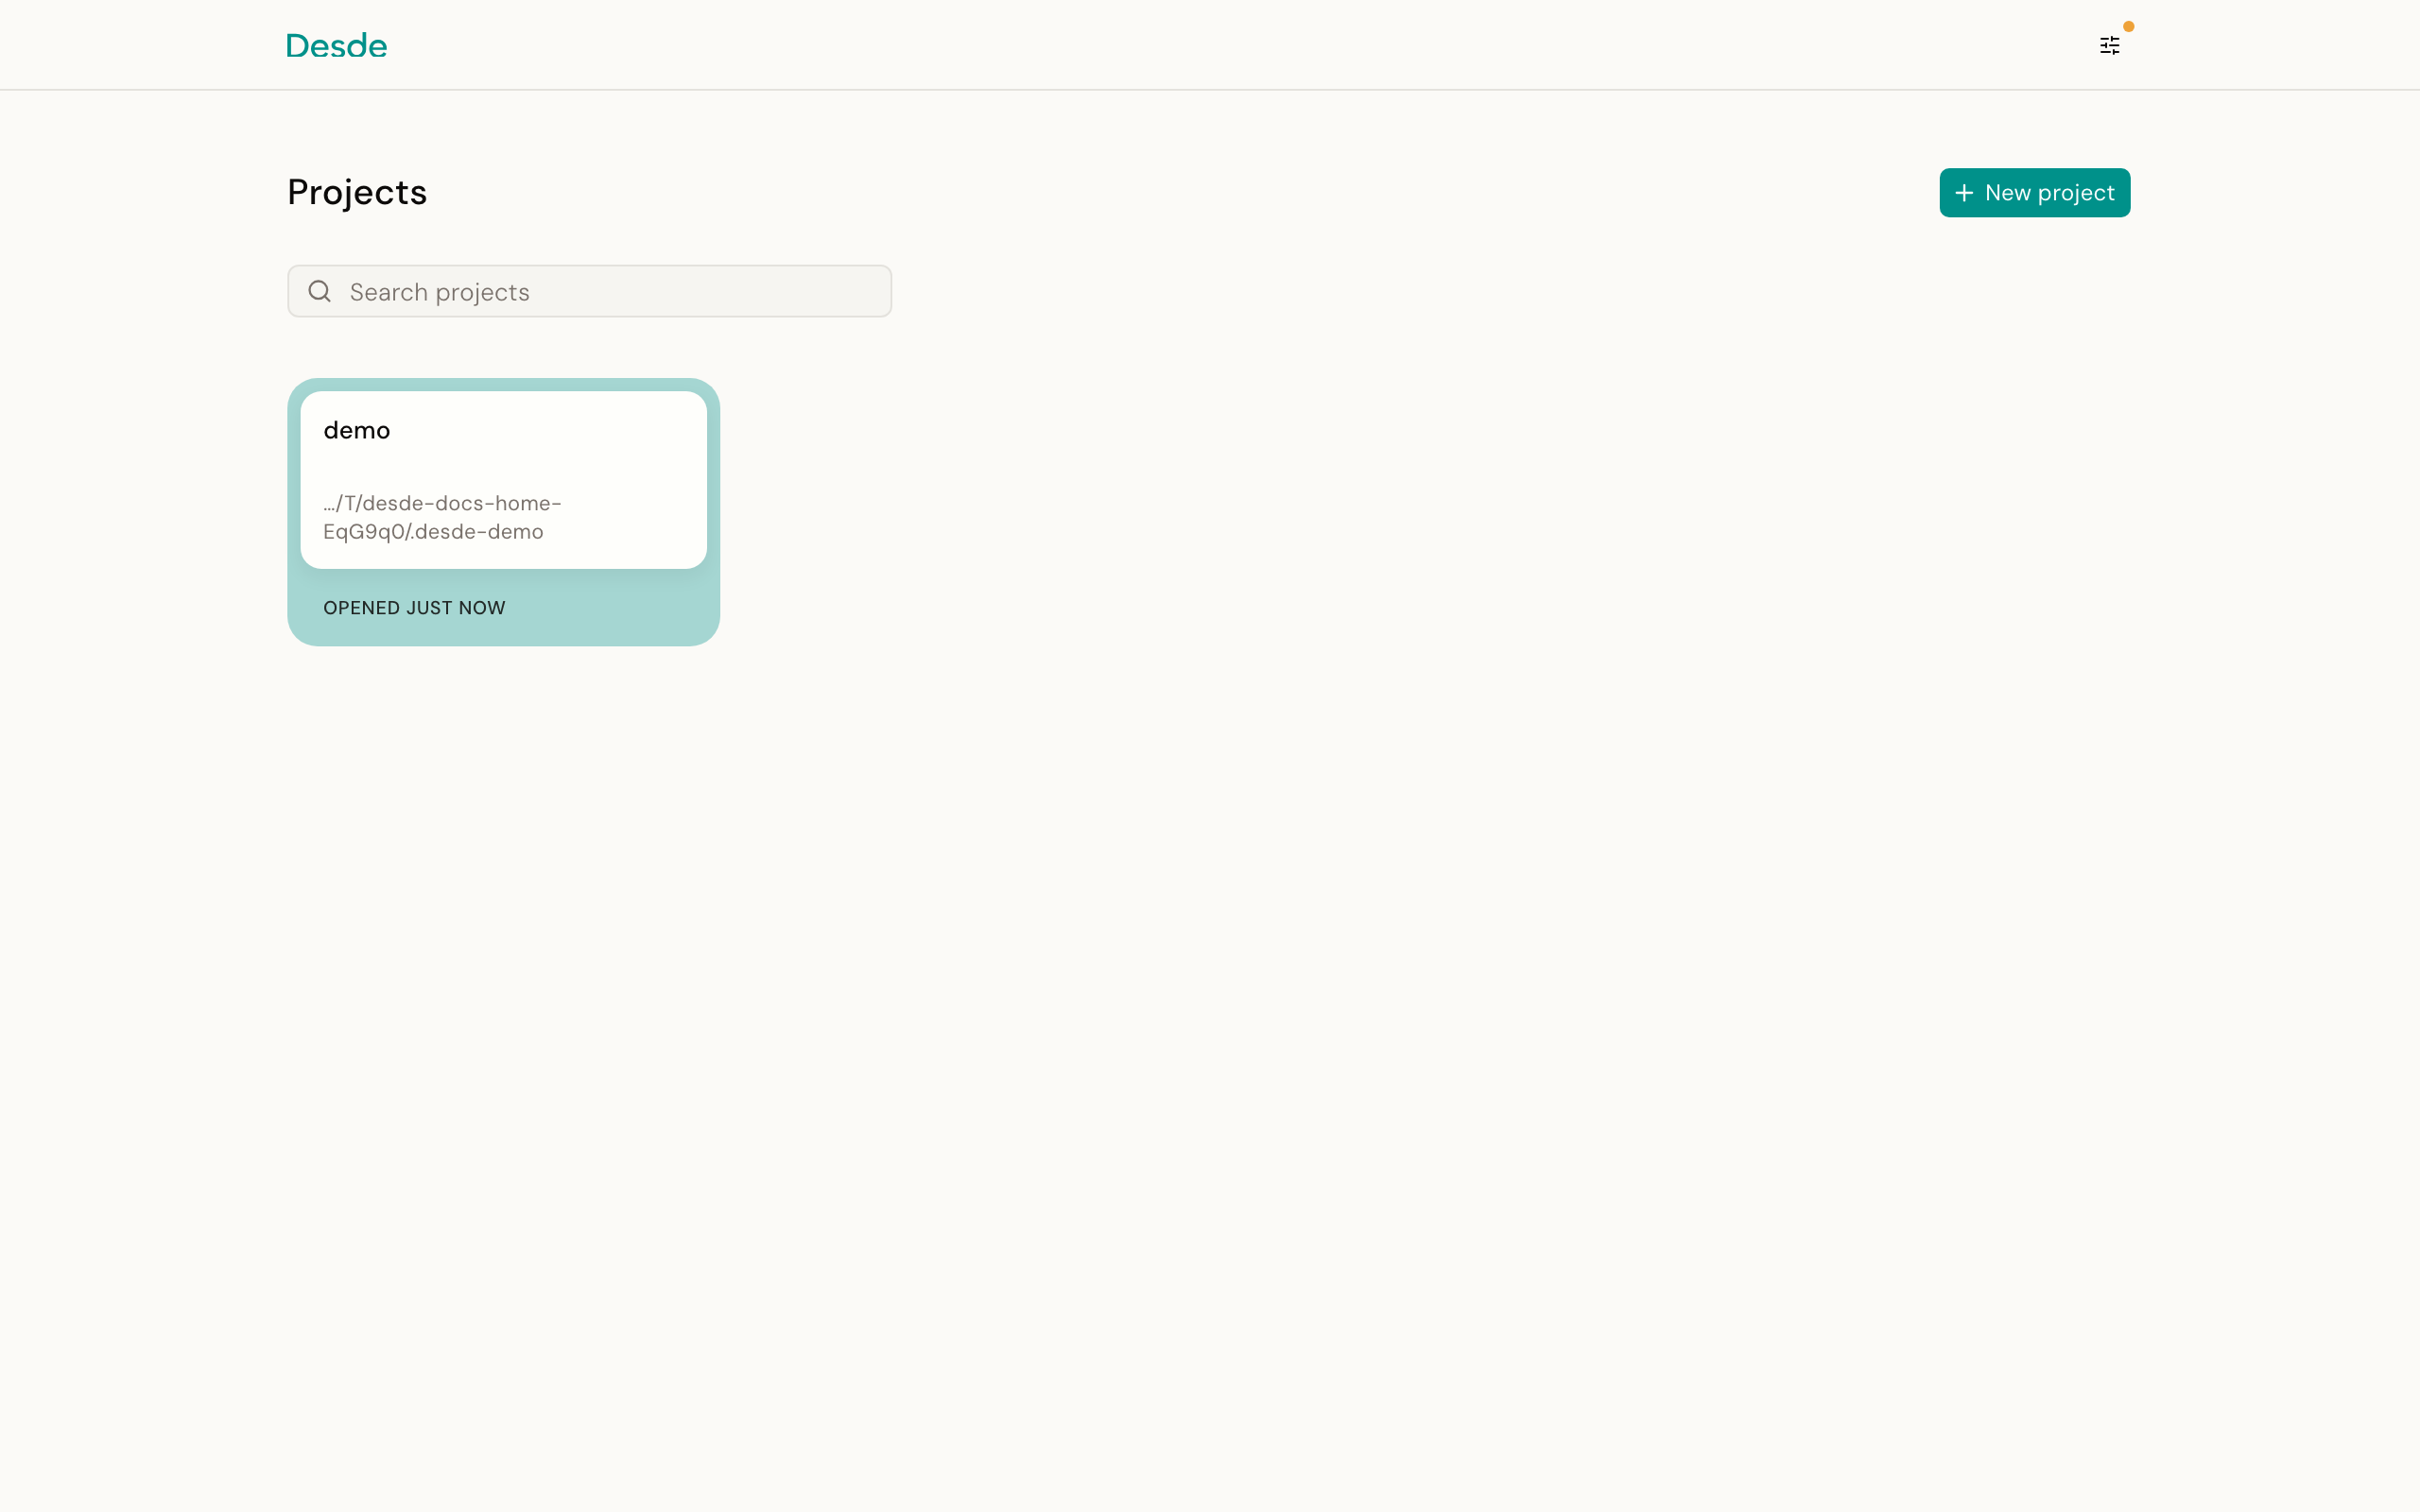
- Try the demo opens a sample prototype that is already set up. There is nothing to install.
- Open a local folder points the Editor at a prototype already on your Mac.
- Clone from GitHub copies a repository to your Mac, then opens it.
If you are opening your own prototype rather than the demo, read What your prototype needs below first.
Select or Navigate?#
Once a prototype opens, the Editor shows your prototype on the left, and panels on the right for the parts you can edit. A small tool picker floats near the bottom of the screen, with three options: Navigate, Select, and Comment.
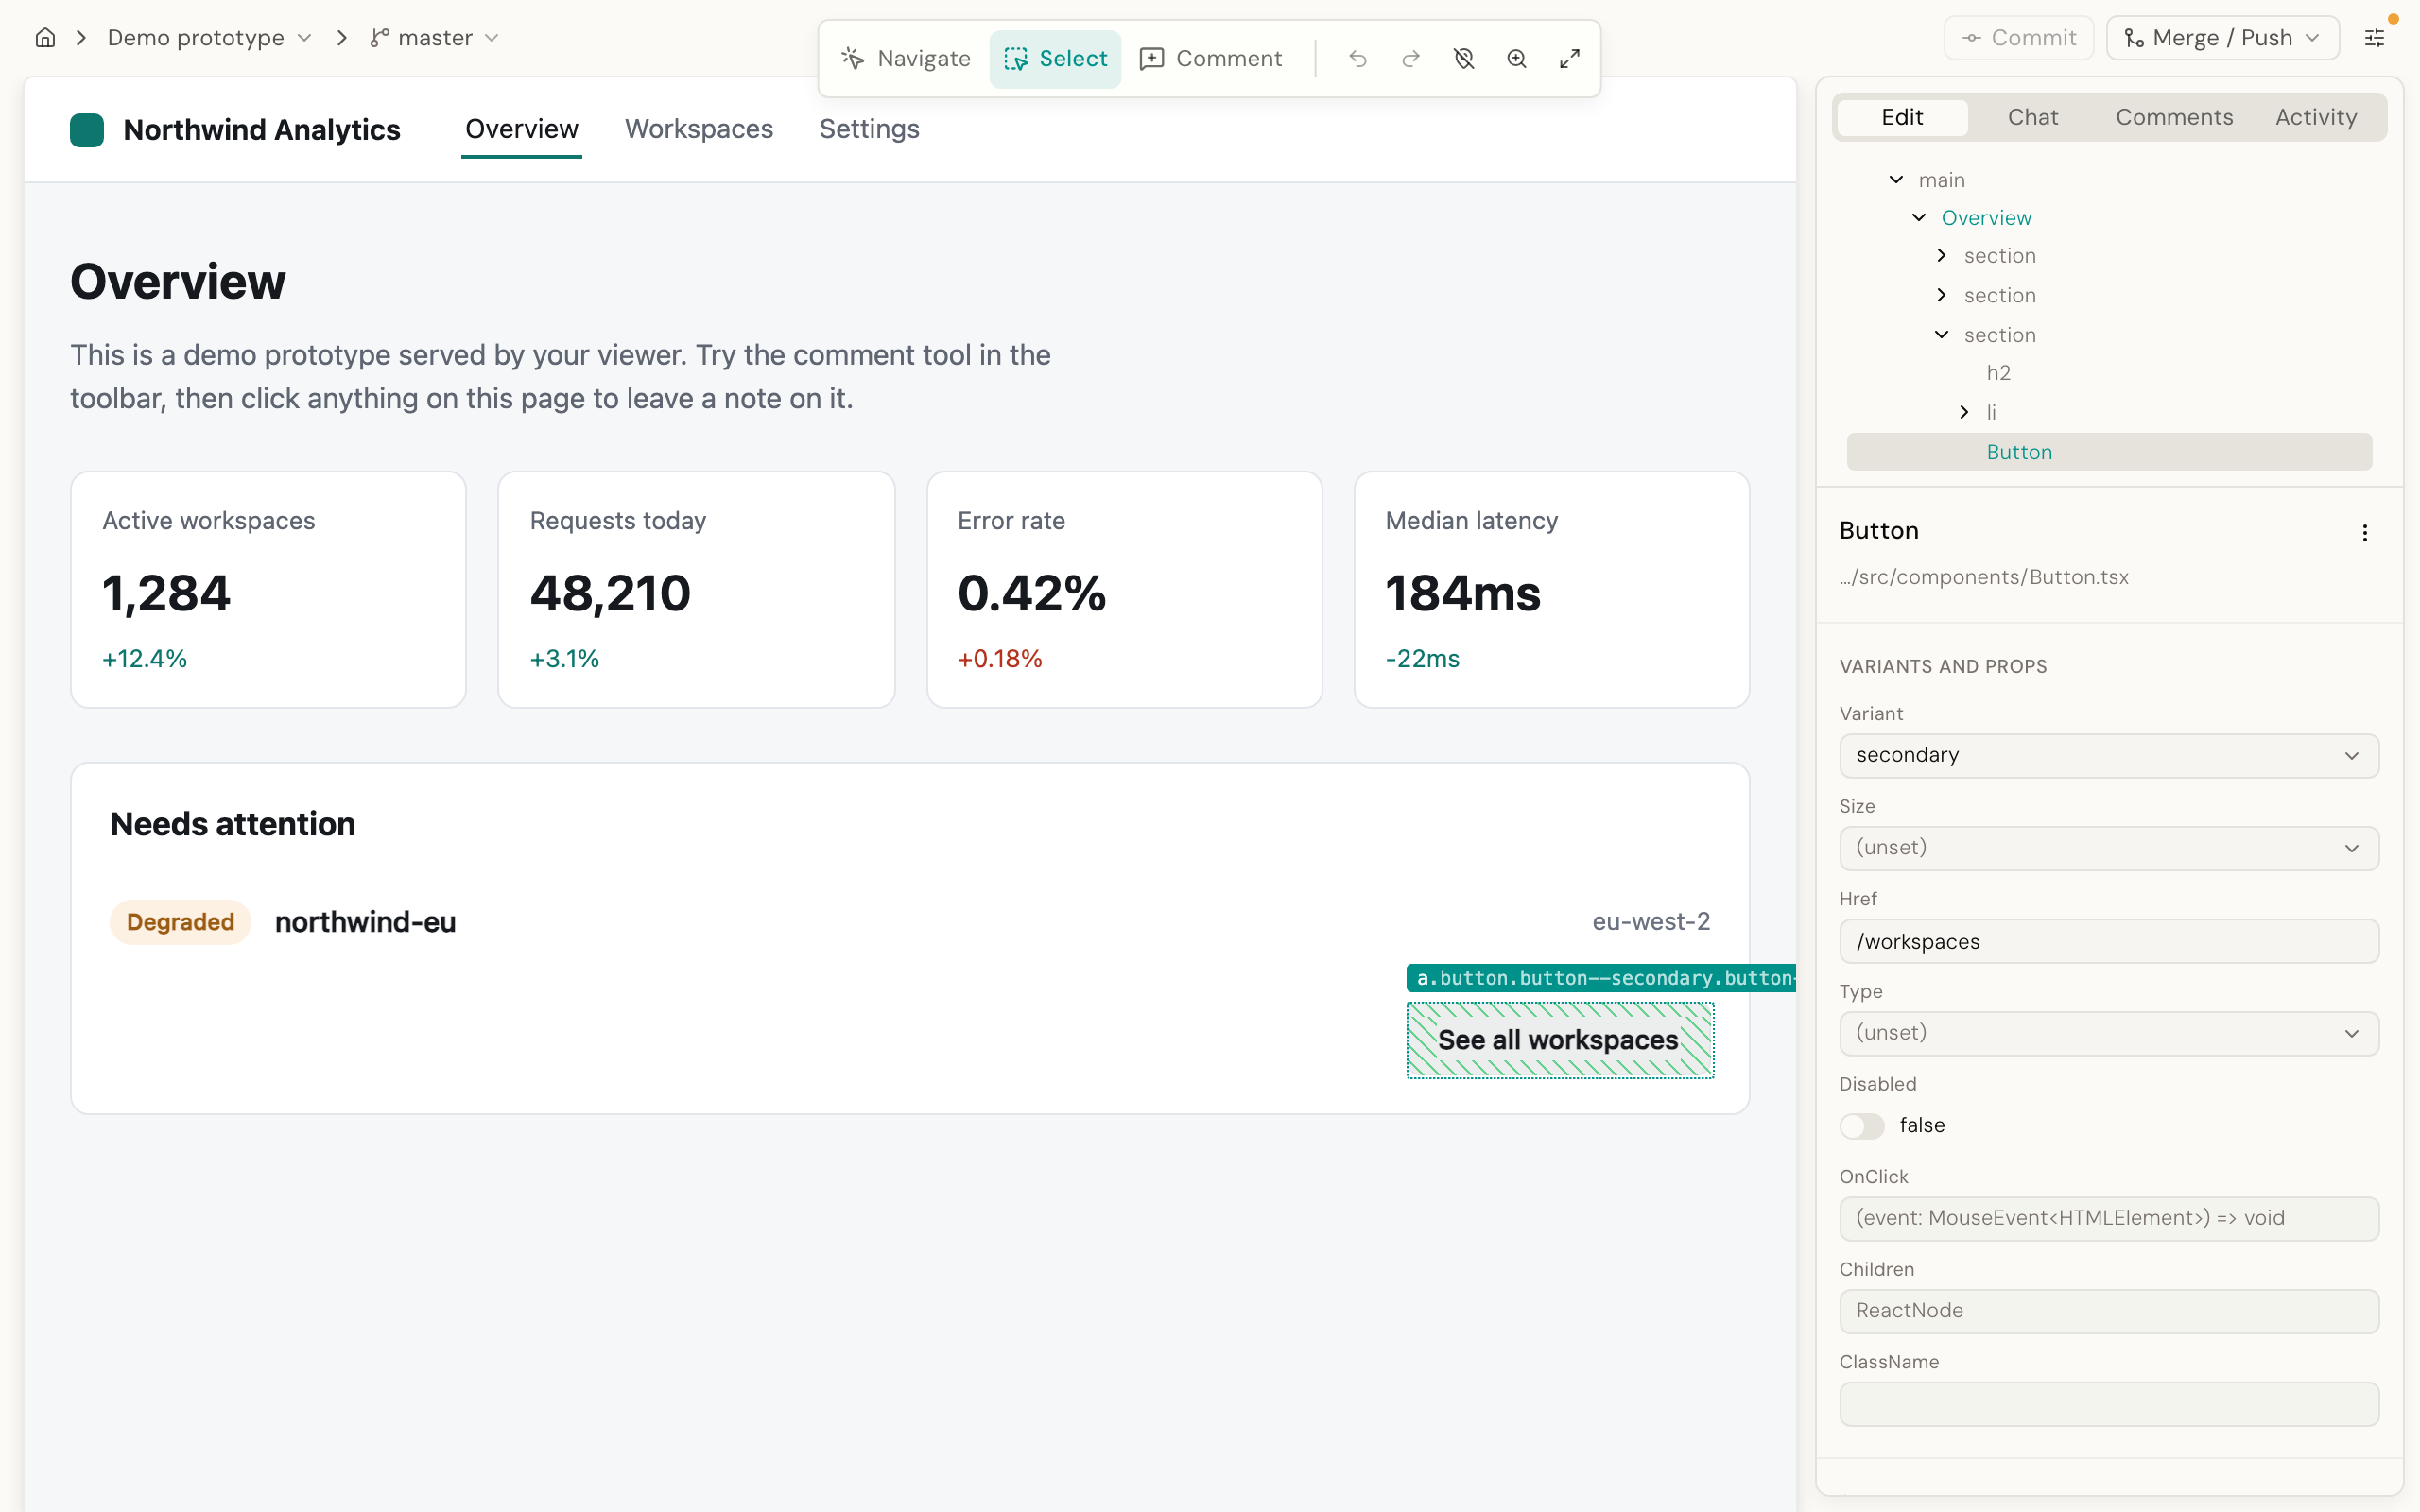
Pick Select before you try to select anything. The picker starts on Navigate, where clicks go to your prototype exactly as they normally would: buttons submit, links navigate. On Select, clicks select the element instead.
Nothing on screen tells you this the first time. If clicking a component does nothing, check which tool is active. Stay on Navigate to click through to the screen you want, then switch to Select to start editing it.
Make your first change#
With the Select tool active, click a component. Two things fill in on the right: a Structure tree, showing the elements on the page, and an Inspector, showing what you can change about the thing you selected.
Try the simplest change first. Click a heading, find the DOM section at the bottom of the Inspector, and retype the words in its text field. Press Enter, or click anywhere else, and the heading on the page changes.
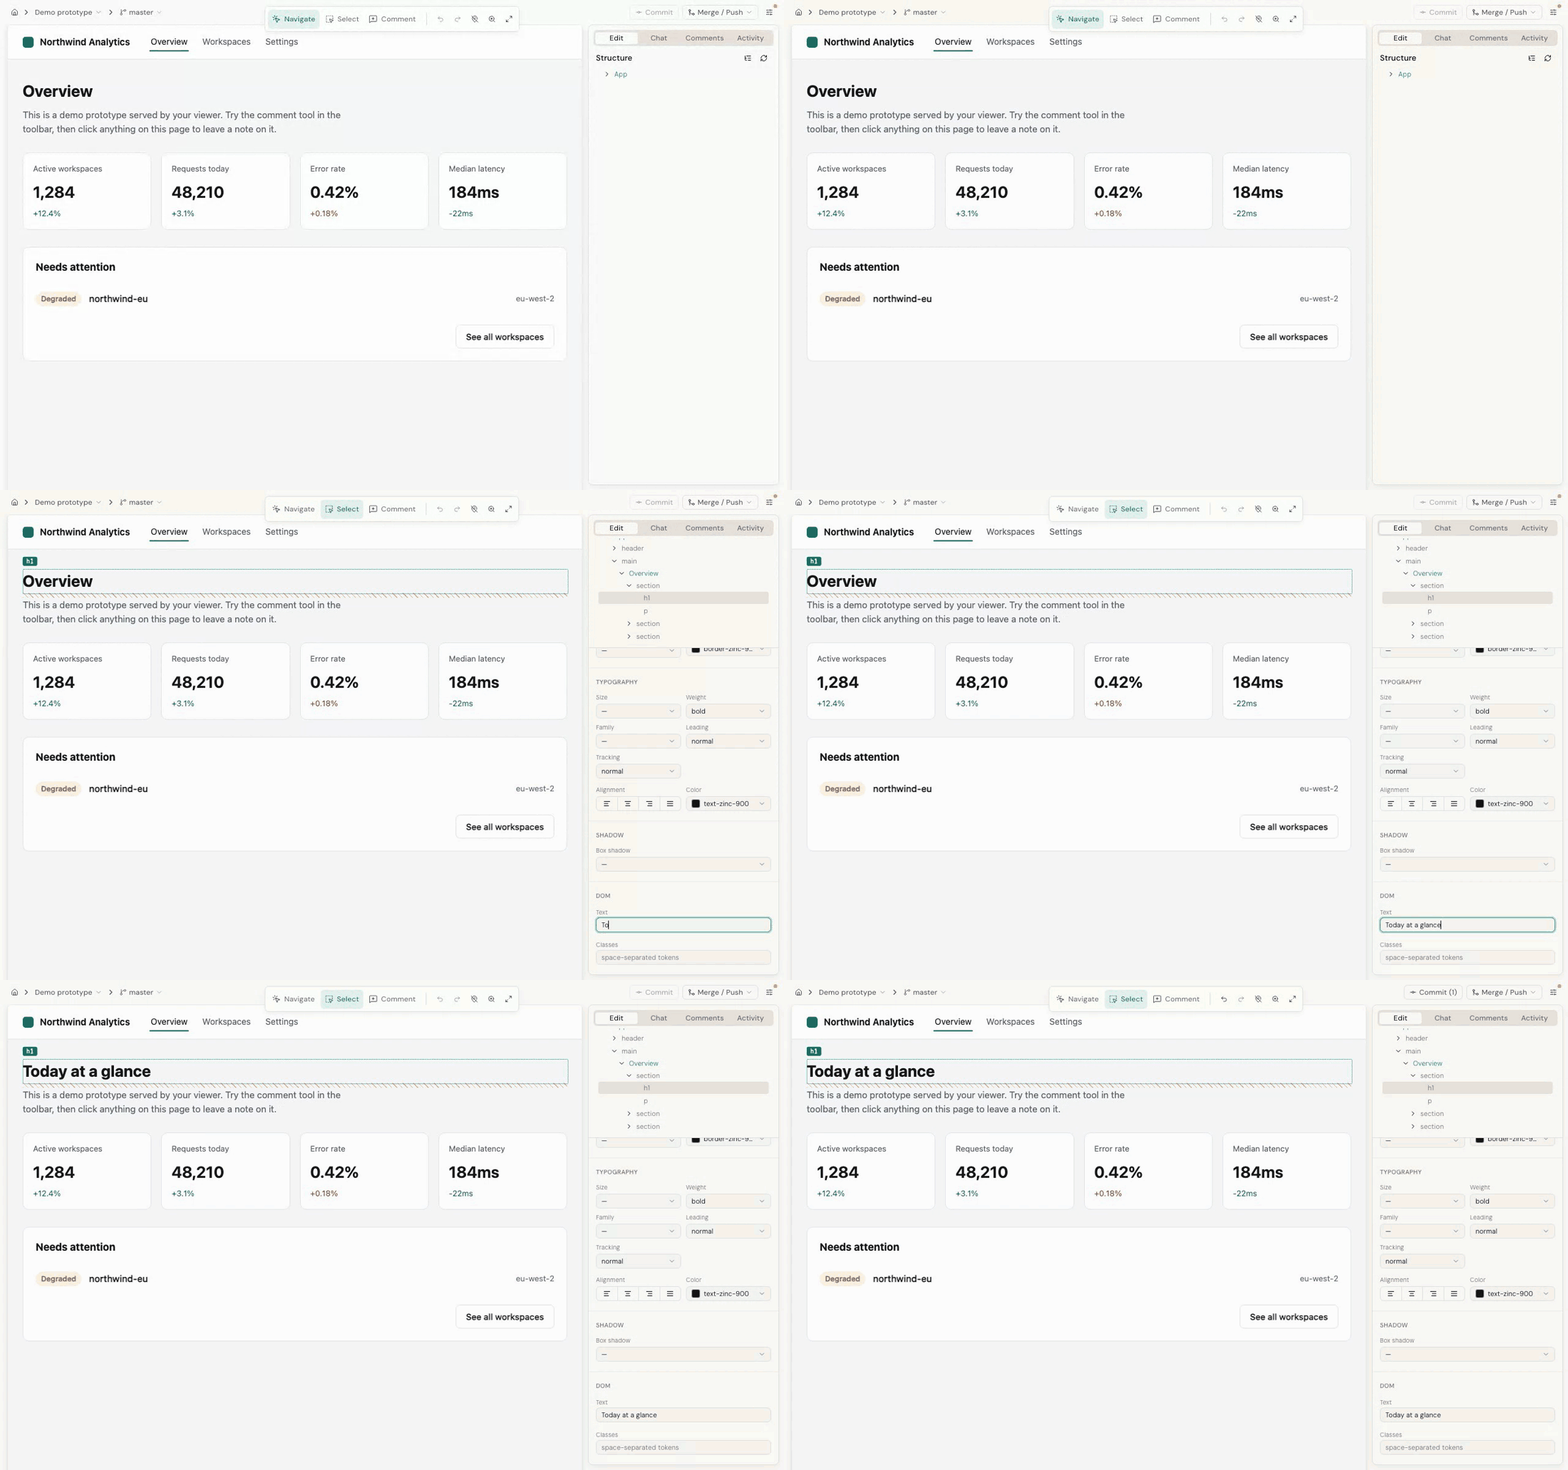
Then look for Variants and props when you select a component from your design system. A component has real options, such as size or color, called props. A named option with a fixed set of choices, like small, medium, or large, is called a variant. Pick a different one and the component redraws with it.
There is no Save button. The prototype updates as you choose, and the change is written into your source file at the same time.
That change is now an ordinary uncommitted change in your prototype's git history, the same as if you had typed it yourself. See Commit, branch and push for committing it and sharing it with your team.
Turn on the AI features#
Most of the Editor works with no setup: selecting, inspecting, editing, and leaving comments. Chat and the other AI features need one thing first, an API key from a provider.
Desde works with Anthropic and OpenAI. One is enough. Usage is billed to you by whichever provider you pick, at their published rates.
Open the settings menu in the top bar and choose AI provider keys, then paste your key into that provider's tab.
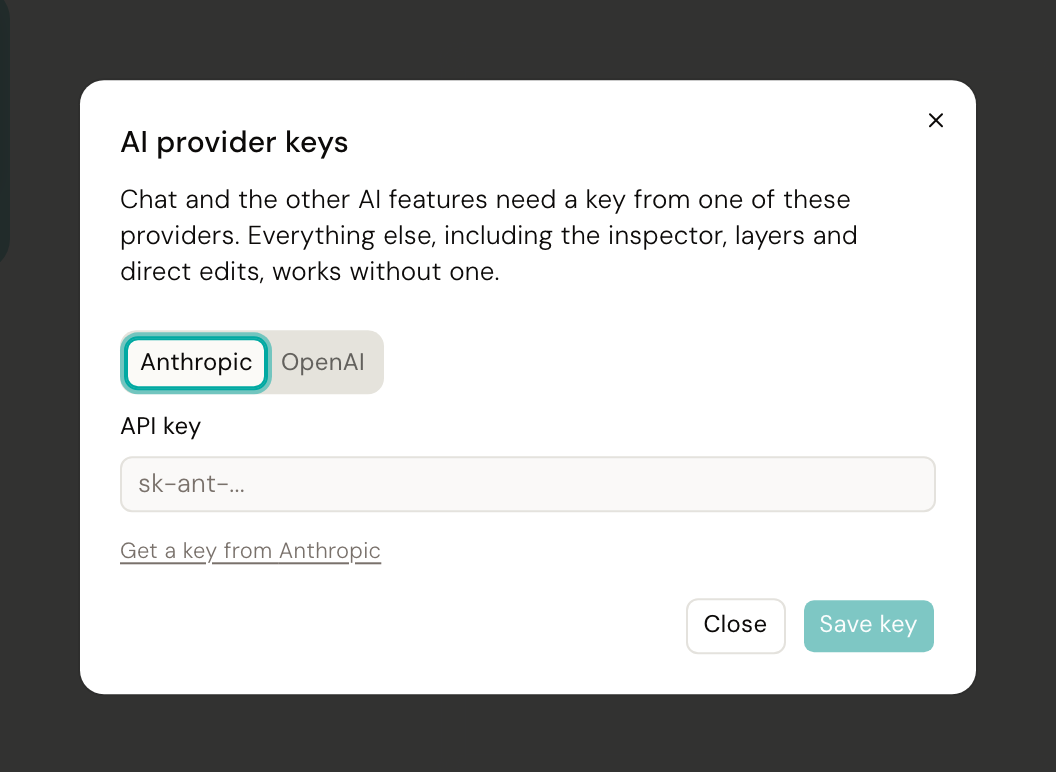
Desde checks the key with the provider before saving it, so a typo fails right away instead of on your first chat turn.
What your prototype needs#
Two things, and both are about your own prototype rather than about Desde.
The prototype needs to already run, and it needs to live in a git repository with its dependencies installed. The Editor does not build your app for you. It starts your own dev server and edits whatever branch you have checked out (a branch is one version of your prototype's code, the one you are currently working on).
The prototype needs to be built in Vue 3 or React. Those are the two frameworks the Editor can edit. Underneath them, it can start Vite, Nuxt, React Router, or Next.js on its own, with nothing to configure. Astro works too, but is off by default. SvelteKit, Svelte, Angular, webpack, and Create React App are not supported.
The repository gate#
Before it opens a repository, the Editor checks a few things. This is the list, and what each refusal means.
| What Desde checks | What it means if it fails |
|---|---|
There is a package.json file |
Desde could not find one at the folder you opened. It needs a Node.js project. |
| That file can be read | The file exists, but it is not valid and Desde cannot read it. |
| The prototype uses Vue or React | Neither is listed as something the prototype depends on, so there is nothing Desde knows how to edit. |
| If it uses Vue, it is Vue 3 | An older version of Vue is not supported, and there is no plan to add it. |
Desde also refuses to open a repository with an unfinished git operation, such as a merge or a rebase that has not finished. Finish or cancel that first.
A messy working tree, or a checkout that is not on any branch, is fine either way.
If you were sent here from an error message in the app, that message names which of these checks failed.