Editor guide
Making changes
Change the words, the variant, the spacing or the structure of anything on screen. Every change lands in your real source, ready to commit.
You change the prototype by selecting something and adjusting it in the Inspector, the panel on the right. The prototype updates as you go, and the change is written into your project's source files. There is no export step and nothing to hand off. What you see is what an engineer would see in a pull request.
This page assumes you can already select an element. If not, start with Select and inspect.
Change the words#
Select the element and look for the DOM section. Every piece of editable text on the element gets its own field. Retype the words, then press Enter or click anywhere else, and the prototype updates.
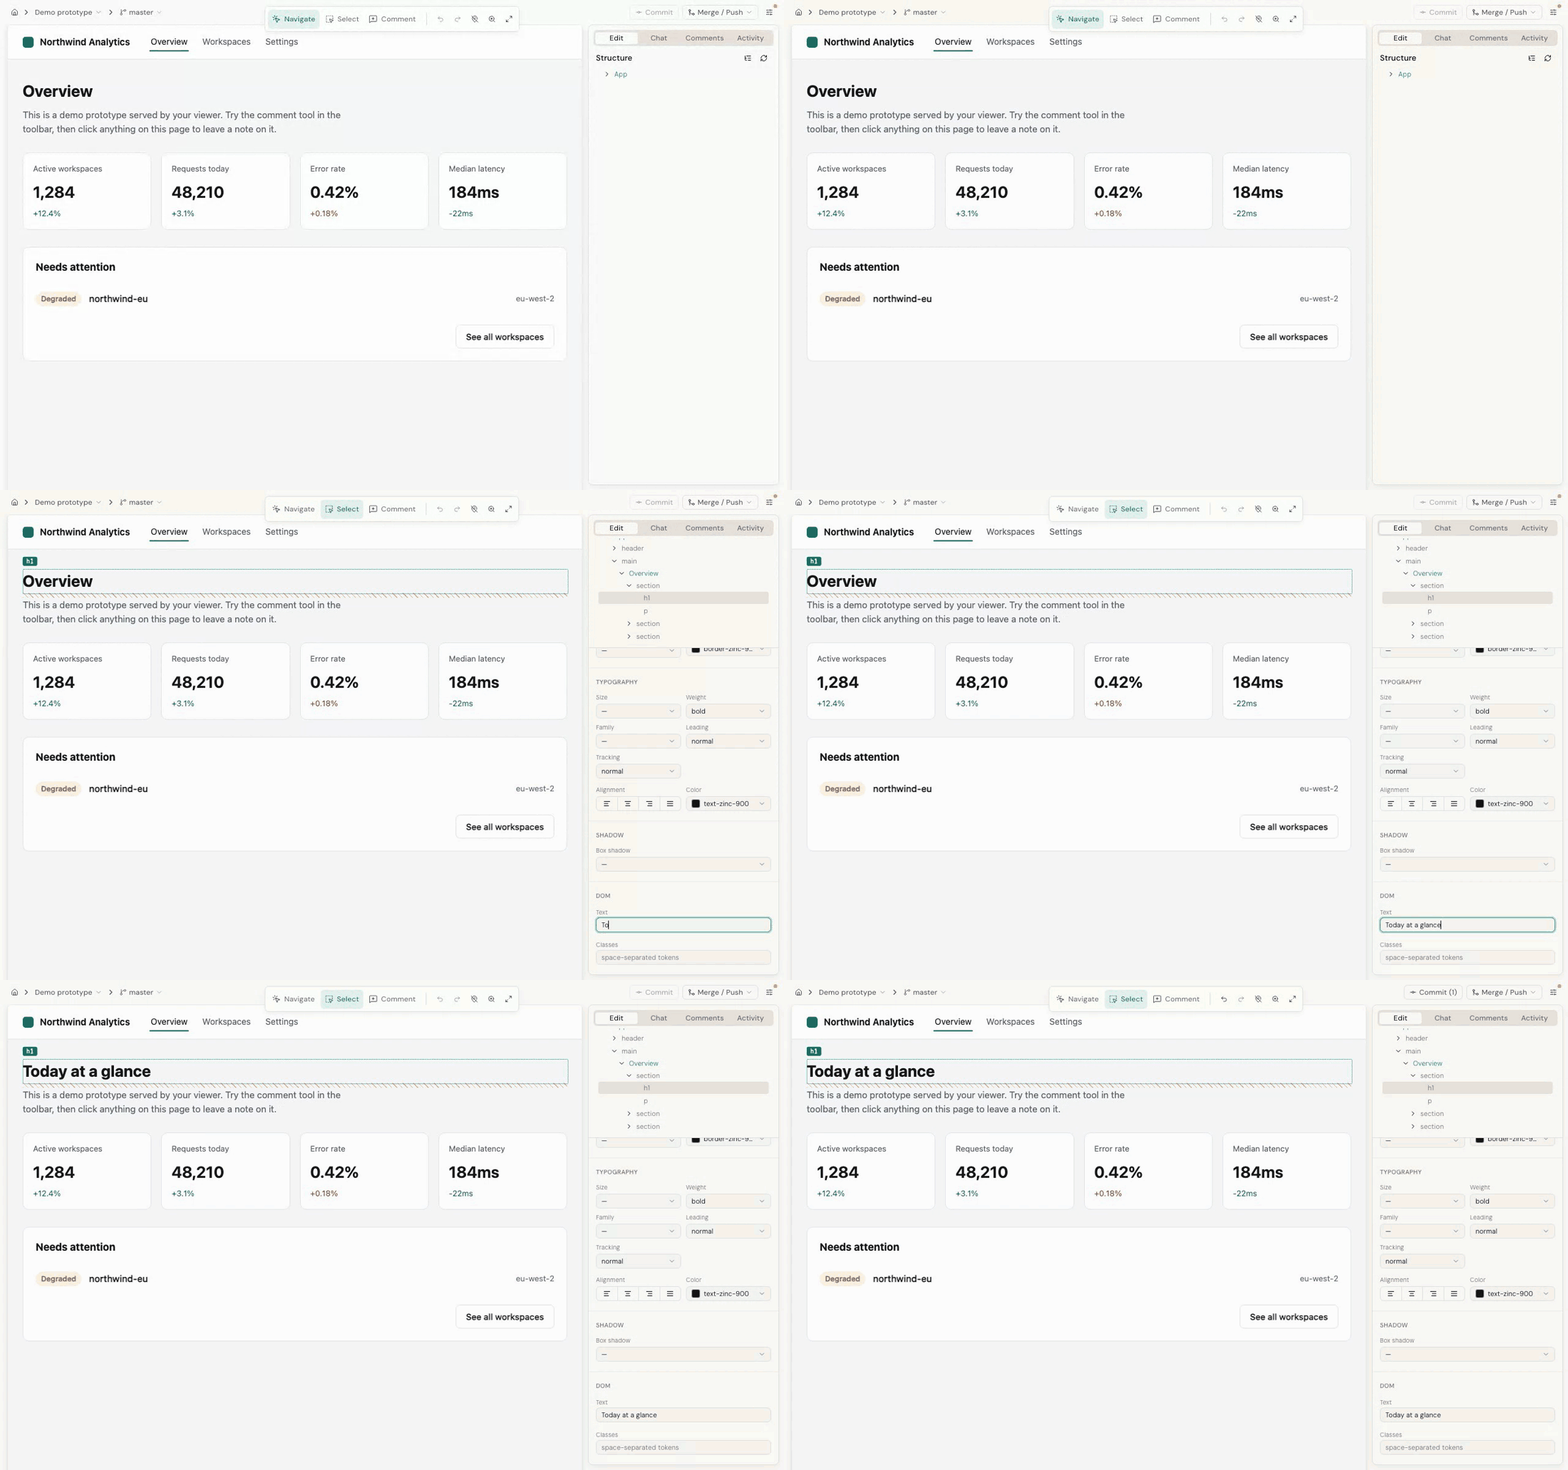
You do not need to know where the words live in code. If a card's title is really a setting passed into a reusable component, Desde finds that and changes it there, so the new title survives the next render.
Sometimes a field is grayed out with a short note. That means the text comes from somewhere Desde cannot safely change by hand, such as data loaded from a list. Ask for the change in chat instead, and the AI will trace it back for you.
Text that shows one thing or another depending on a condition gets its own Conditional text section, with one field per version, so you can edit each on its own.
Switch a variant or setting#
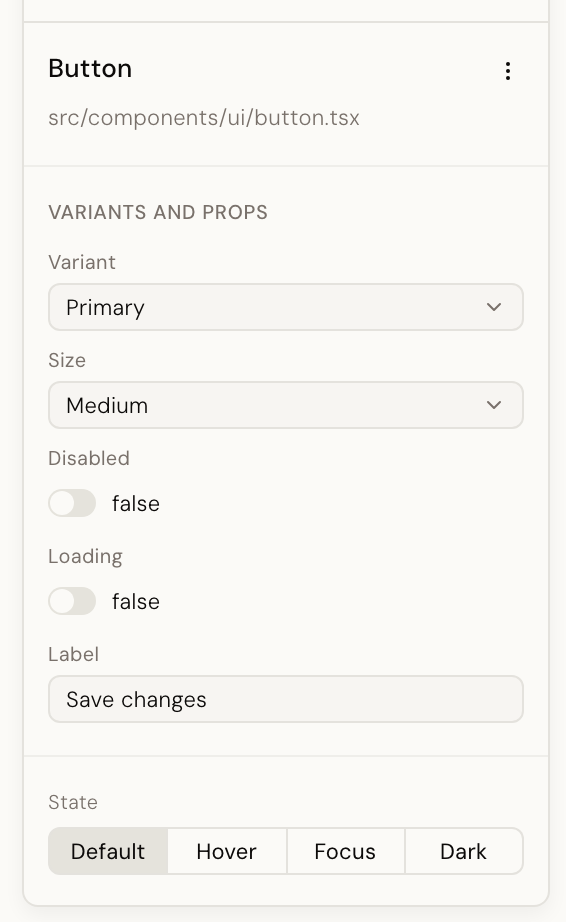
Components from your design system have real options: size, appearance, whether a button is disabled, and so on. The Variants and props section shows them as proper controls. A prop is one of those options, and a variant is a prop with a fixed set of choices.
- A yes/no option is a switch.
- An option with a fixed set of values (
small,medium,large) is a dropdown. It lists exactly the values the component accepts, so you cannot pick one that does not exist. - Free text and numbers get a field.
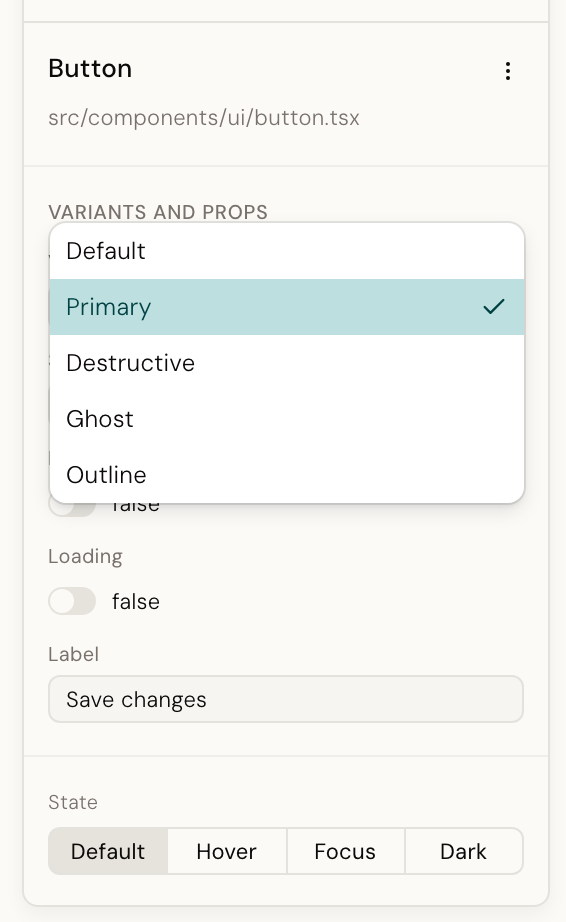
These options come from your design system itself, not from a list someone typed into Desde. That is why they match what your engineers use. How Desde reads them is covered in Your design system, understood.
A few kinds of setting are shown but not editable yet: objects, arrays, events, functions, slots and token props. Chat can change those.
Adjust spacing, color, type and borders#
The Spacing, Align & size, Color, Border, Typography and Shadow sections work the way you would expect from a design tool. Pick a value and it applies.
Two things make this more than a style panel:
- Values snap to your system. Spacing steps, colors and type sizes come from your project's own scale, so the result is something the codebase already knows how to say.
- States and breakpoints are real. Pick
hoverin the State bar, or a narrower breakpoint in the toolbar, and the change applies only to that state or size. The resting version is left alone.
If you know your project's utility classes, the Classes field in the DOM section lets you edit them directly.
Rearrange, add and remove#
Structural changes happen in the Structure tree, the outline of the page in the Edit tab of the right-hand panel.
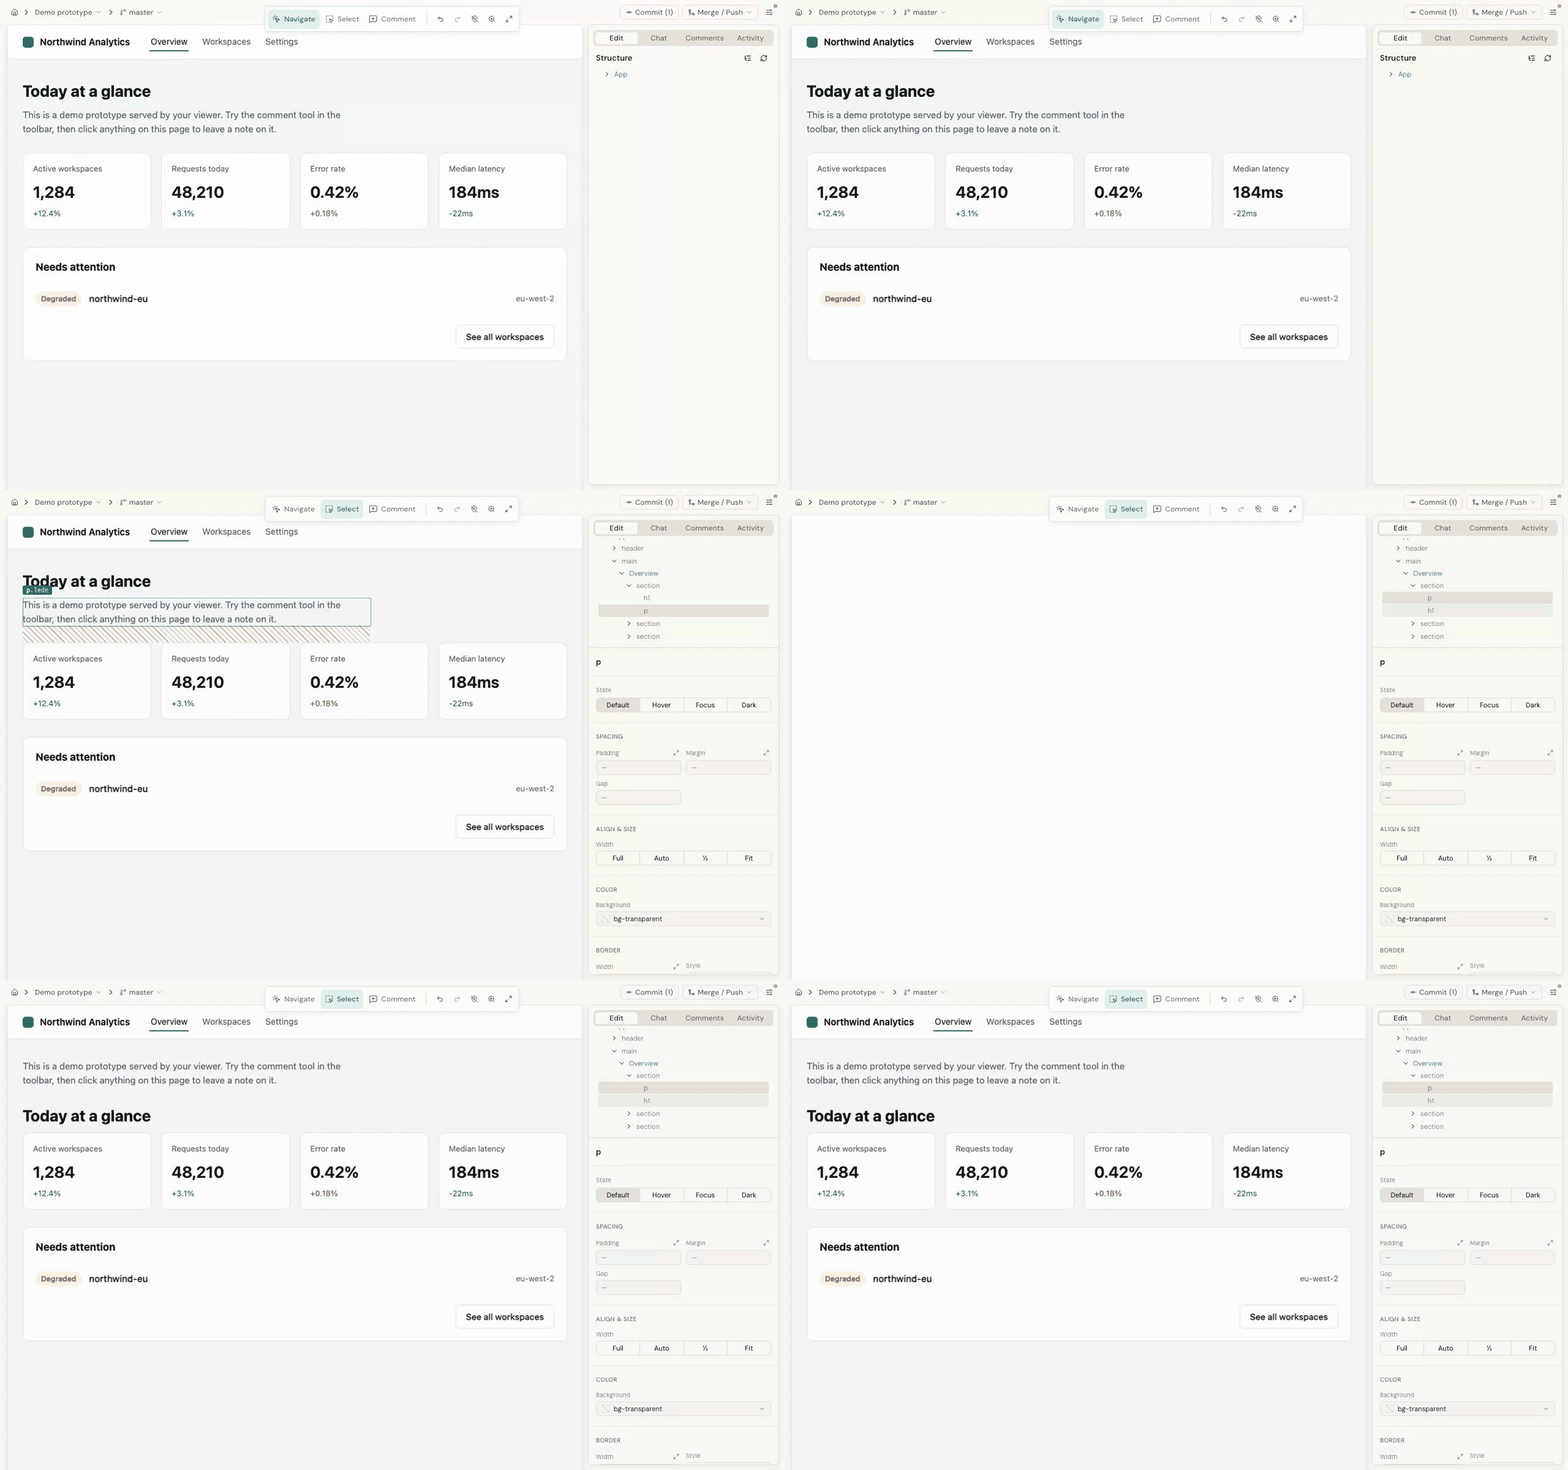
- Move. Drag a row. Drop near the top of another row to go before it, near the bottom to go after it, or in the middle to nest inside it. With the Select tool active you can also drag the element directly on the page.
- Add. Right-click a row and choose Insert child to add a basic element such as a heading, paragraph, button or image. To add one of your design system's components, ask in chat.
- Remove. Right-click and choose Delete. To remove a wrapper but keep what is inside it, choose Unwrap.
- Pick one branch. Some parts of a page show one thing or another depending on a condition. Flatten conditional keeps the branch you want and removes the switch. The menu offers the first branch or the else branch. You cannot yet pick a middle branch of a longer chain from this menu.
Moves stay within one file. If a drop would need to reach into a different component's source, Desde says so rather than guessing.
Swap and Detach are off by default. lanes.swap and lanes.detach turn them back on. See
Select and inspect for what they do, and
editor configuration for where those settings go.
When Desde asks you a question#
Now and then a dialog appears before a change applies. It appears because what you clicked on screen could mean two different things in the source, and only you know which one you want. Each dialog offers the real choices and nothing else.
One item, or all of them?#
You clicked the third card in a row of eight. On screen there are eight cards. In the source there is one card, repeated for each entry in a list. So Desde asks:
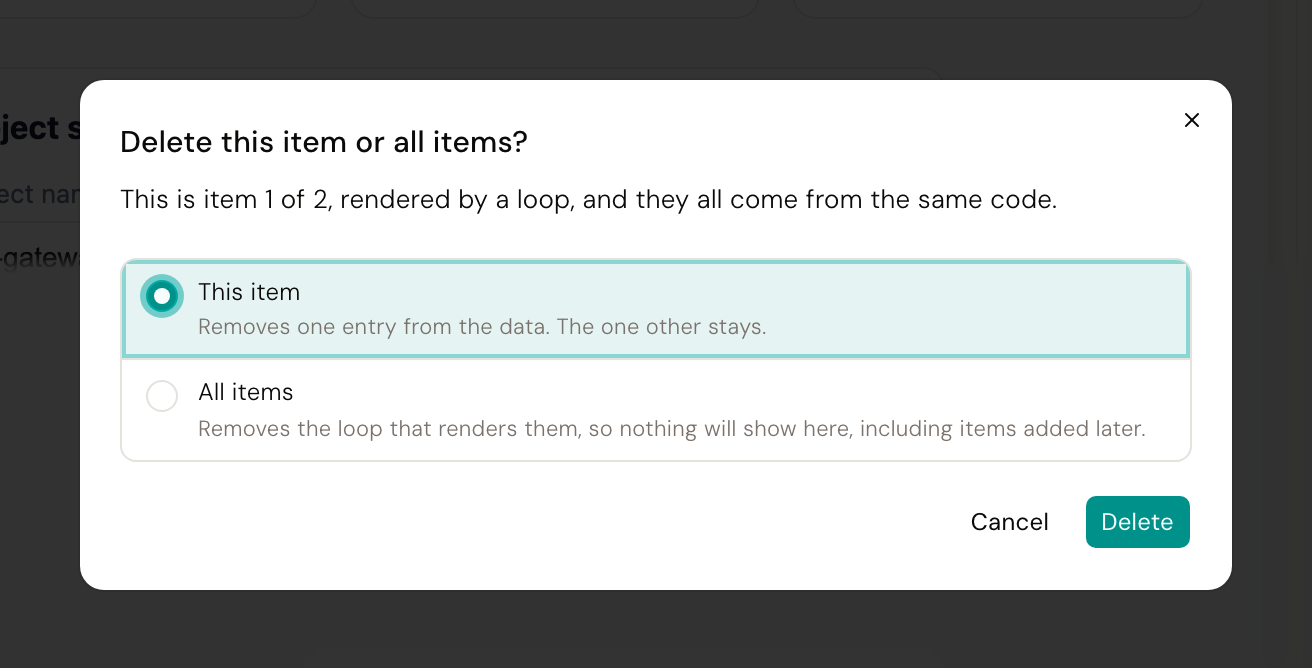
- This item changes just the one you picked, by changing its entry in the list.
- All items changes the shared card, so every one of the eight changes.
You will see this for any kind of change on a repeated item, including text. It asks each time, because the right answer depends on the change.
This copy, or the component?#
You deleted the heading inside a card, and that card is a component used in nine places. Removing the heading from one card only is not something the source can express. What you can do:
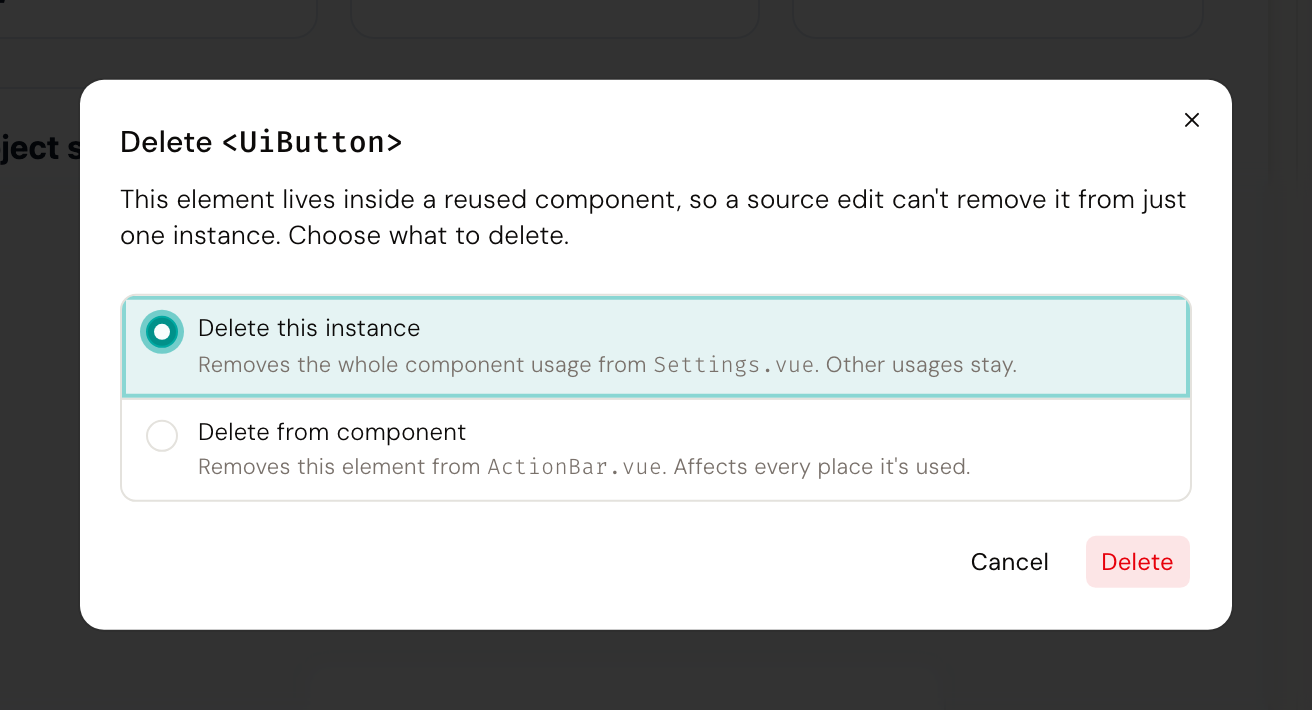
- Delete this instance removes this whole card from this page. The other eight stay.
- Delete from component removes the heading from the card itself. All nine lose it.
An option is grayed out, with the reason, when the component comes from a library you do not own.
Just here, this page, or the design token?#
You changed a color, and that color did not come from this element. It came from a design token (a named value your design system defines once and uses everywhere), or it was inherited from further up the page. Desde shows you where it came from and asks how far the change should reach:
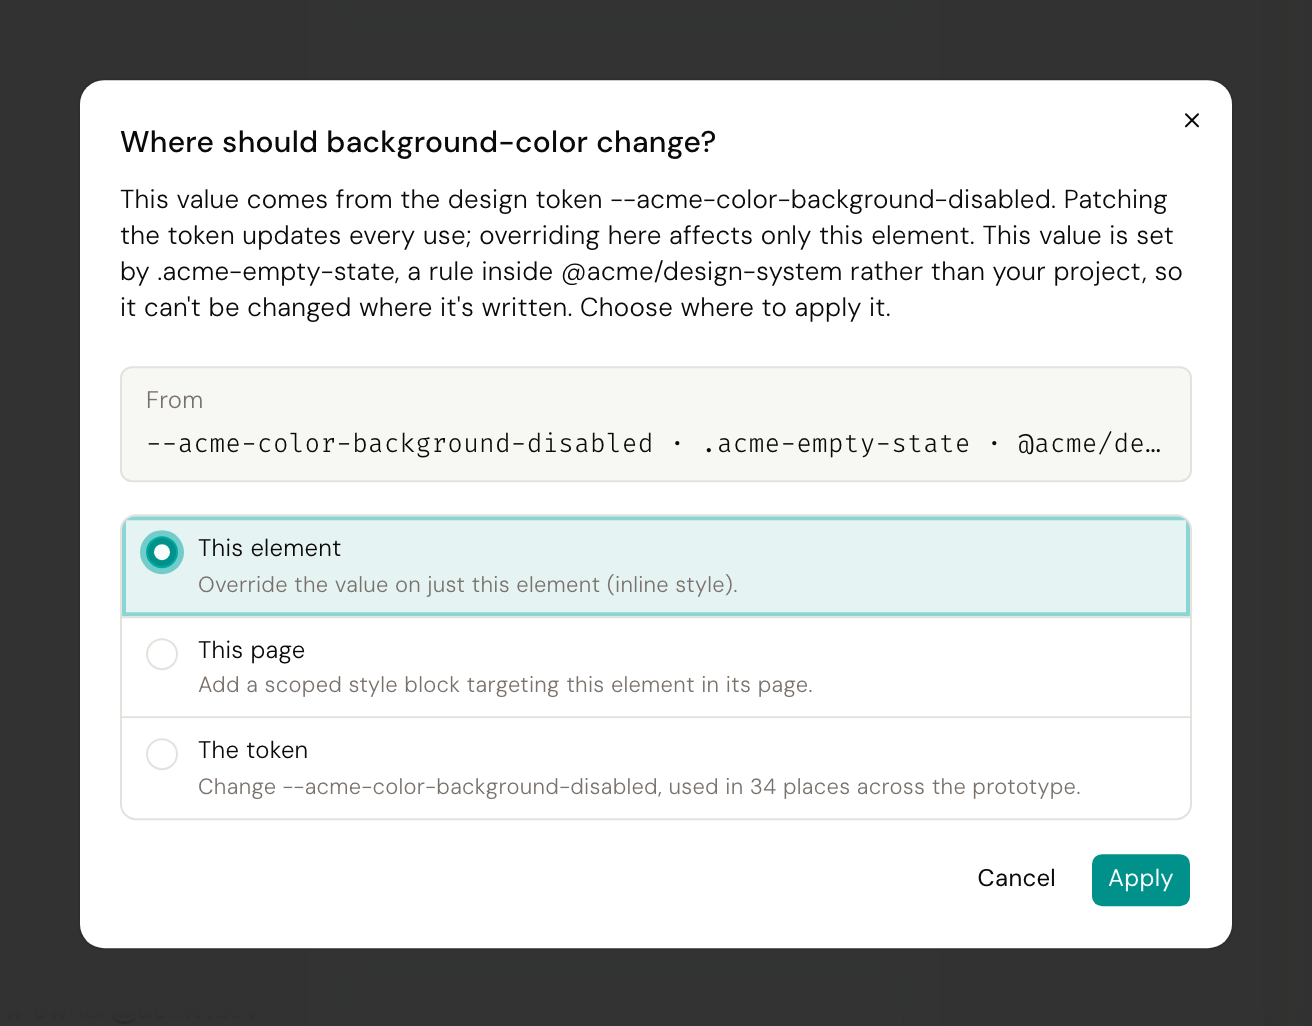
- This element overrides it here only.
- This page adds a rule for this page.
- The token changes the token at its source, and tells you how many places use it.
Options that do not apply to this project are shown disabled with a reason. When a value is unambiguous, no dialog appears at all.
When a change needs the AI#
Most changes are made directly, without any AI involved, which is why they are instant and exact. Some cannot be. A label that comes from a variable defined in another file is the usual case: the value you want to change is not where you are looking.
When that happens, Desde hands the change to the AI, which reads across your files, finds the real source, and changes it there. You will notice one of two things:
- The Commit button in the header becomes Apply N with AI. Some of your changes are waiting for the AI. Click it to apply them, and the button goes back to Commit.
- The chat tab opens with your change described in it. This happens when the change needs interpretation rather than a lookup, and you can add detail before sending.
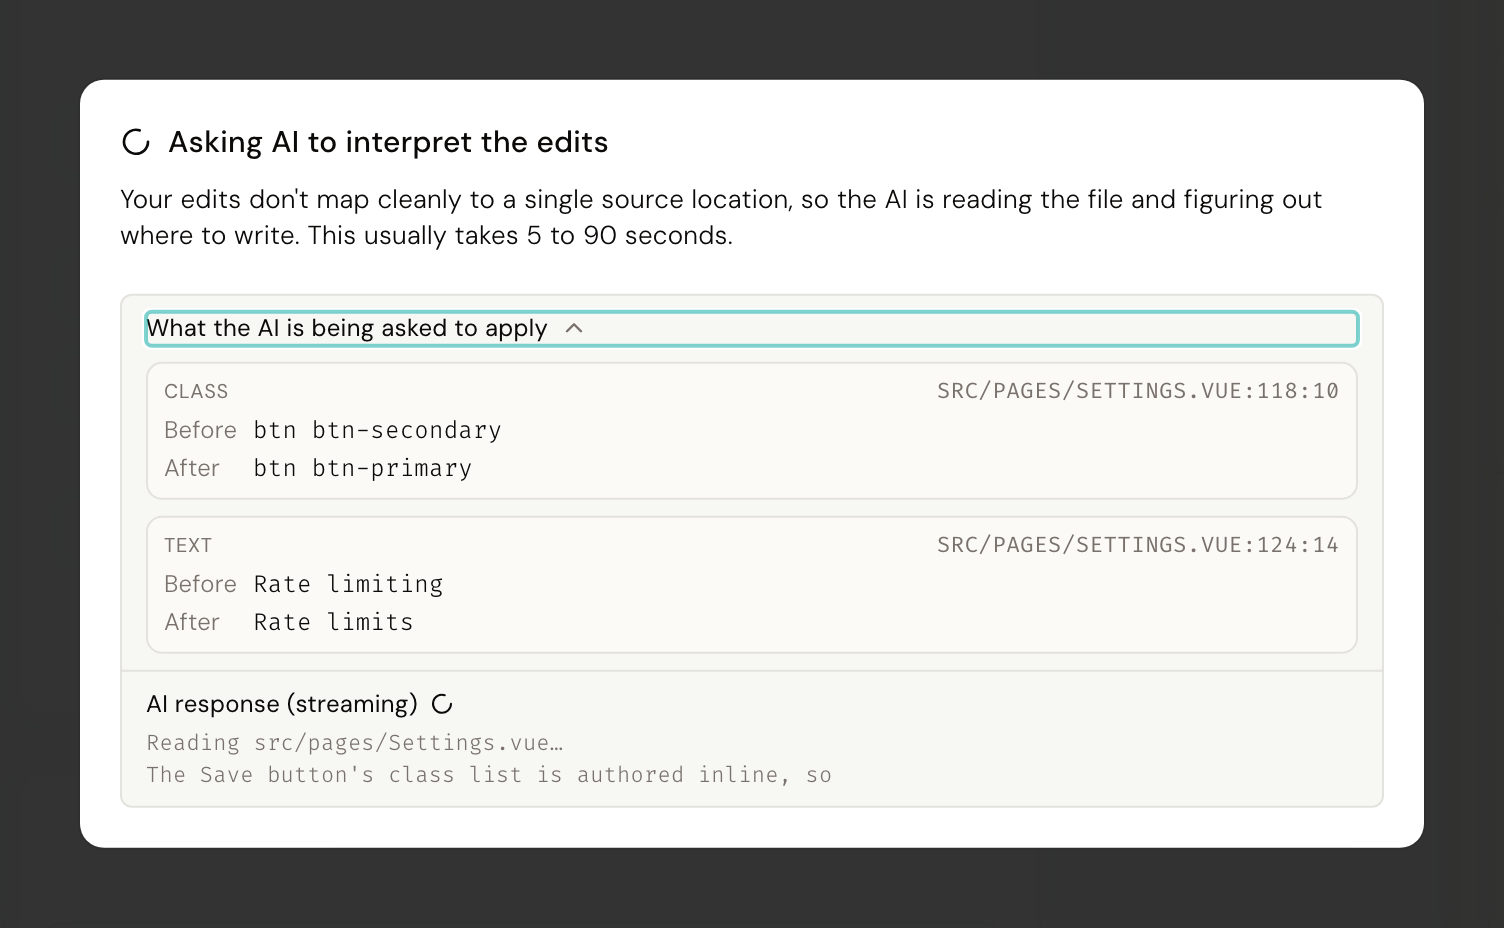
If the AI cannot make the change safely, you get a plain explanation and your file is left exactly as it was. Why most changes never need this is explained in Why most changes are instant.
Undo, and saving#
There is no Save button. Changes are on disk the moment you make them.
- Undo in the toolbar steps back through your Desde edits, one at a time.
- Commit in the header records your changes in git, with a message, when you are ready.
Until you commit, everything is an ordinary unsaved change in your project, exactly as if you had typed it. See Commit, branch and push for committing, branching and sharing.
Next#
- Ask the AI: describe a change instead of clicking through it
- Commit, branch and push: commit, branch, and open a pull request
- When Desde says no: what Desde will not change by hand, and what to do instead